Installing and configuring the Photoshop plug-ins
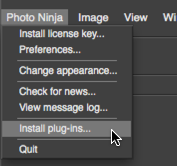
To install the plug-ins, go to the Photo Ninja menu and choose "Install plug-ins...":
Use the installer dialog to choose where you want to install the plugins:
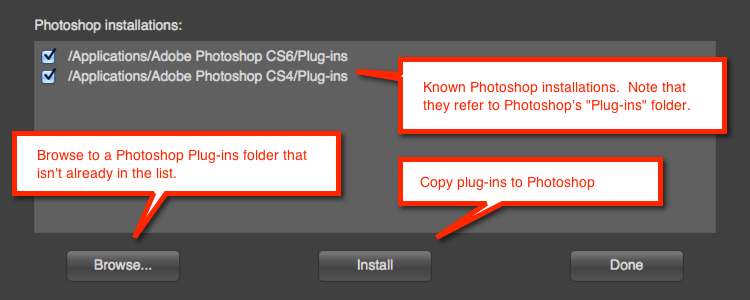
The installation process copies the plug-ins from Photo Ninja's installation folder to Photoshop's "Plug-ins" folder (or other location that you specify).
If the installer fails and asks you to do a manual installation, this usually means that the permissions on the Photoshop Plug-ins folder and/or the parent Photoshop installation folder are set too restrictively and the installer can't copy the files. If you are familiar with manipulating permissions on your system, try temporarily changing the permissions of both the Photoshop Plug-ins folder and the Photoshop installation folder above it to allow read-write access by anyone, then re-run the installer and see if it works. If it still fails, you can attempt a manual installation as described here.
NOTE: You must restart Photoshop so it can load the plug-ins
Activating and configuring the format plug-in (IMPORTANT)
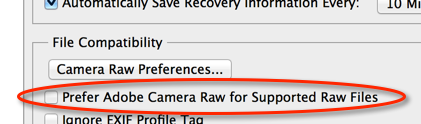
The format plug-in must be activated in Photoshop before you use it. To do this, go to the "File Handling" page in Photoshop's Preferences dialog, and uncheck the option to "Prefer Adobe Camera Raw for supported raw file formats":
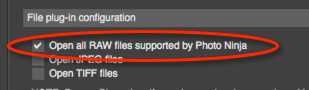
Next, open Photo Ninja's preferences dialog and go to the "Photoshop" page. Make sure the option "Open all RAW files supported by Photo Ninja" is checked.
If the plugin is correctly installed, activated, and configured, then Photo Ninja should be become the default raw converter for Photoshop.